
Today was a fun little project! I installed an SAE port on a custom Ram Promaster van so the owners could easily hook up a deployable (portable) solar panel. Easy install, and everyone’s happy!
The installation process was simple, starting with the outside portion:
- Determine a good location to drill a hole in the van
- Use masking tape to make an “X” (two layers, laid out perpendicular to each other) on the spot
- Drill a small pilot hole (1/8″) to guide the larger hole saw bit
- Use the 7/8″ hole saw to drill the hole
- Remove the masking tape
- Apply Dicor (non-sag version) on the SAE weatherproof socket
- Put the socket in the van
- Use some corrosion-resistant self-tapping screws to secure the socket
And the inside portion:
- Mount the solar charge controller on the wall
- Hook up the cables from the SAE socket to the PV input on the solar charge controller
- Add wires from the battery input on the solar charge controller to the battery, utilizing the ring terminals
Parts & Tools used in this install:
- Renogy Solar Panel Suitcase (Portable)
- MC4 to SAE Adapter
- SAE Extension Cord
- SAE Weatherproof Socket
- Renogy PWM controller
- 10 gauge wire
- 3/8″ Ring Terminals
- Drill Driver & Impact Drill
- Wire Stripper
- Crimper
- Razor Blade
- 7/8″ Hole Saw
- Masking Tape
- Dicor (non-sag)
- Caulk Gun

New hole drilled for SAE Socket 
Solar Charge Controller Installed 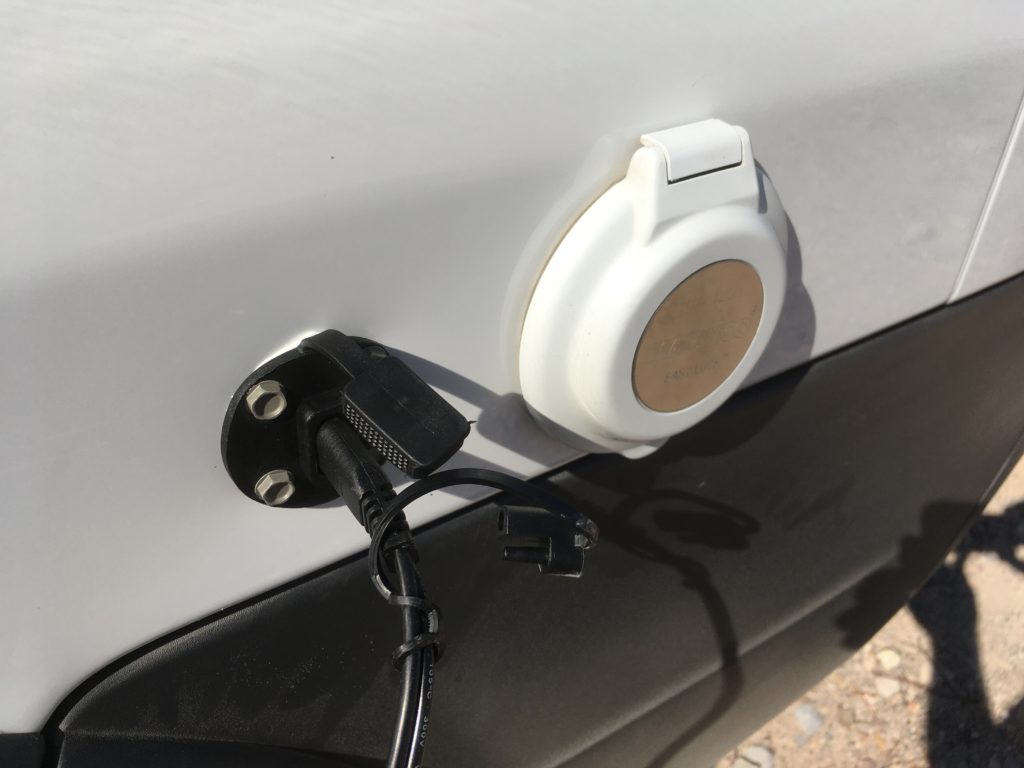
New socket installed & extension cord plugged in 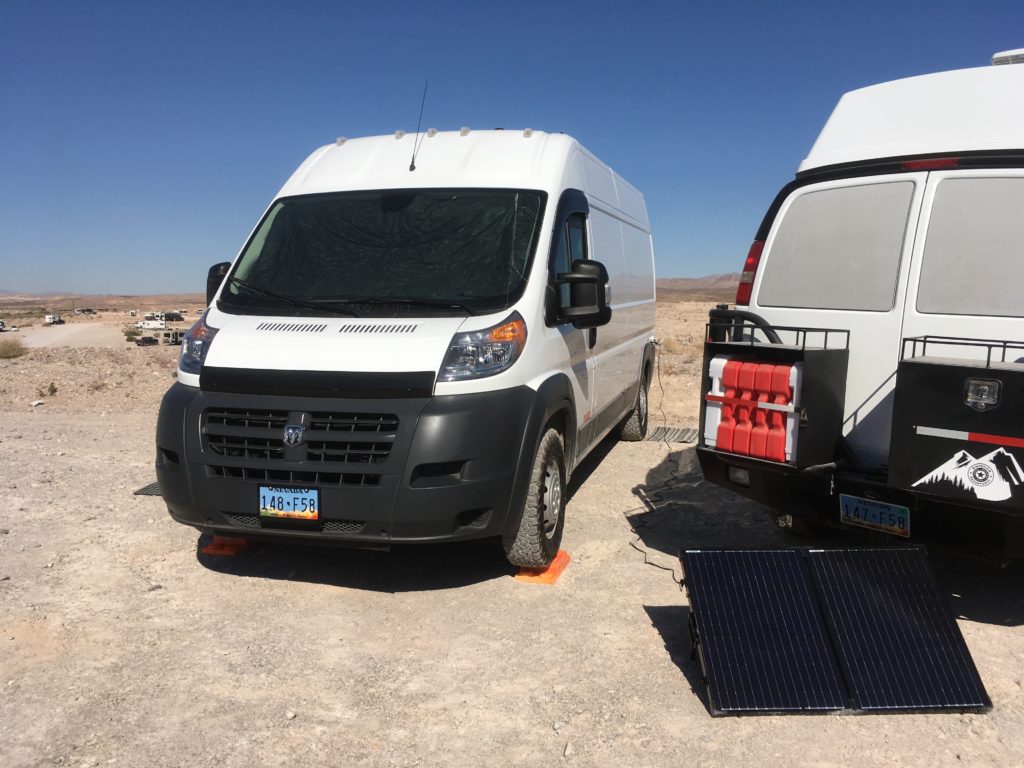
Finished install in the Promaster