Jessica (@wheres_goldie) recently requested my help with getting her van, “Gus” set up with an electrical system that would fit her needs. Her biggest items on the wish list? Induction cooktop and residential (dorm) fridge that would be on 24/7.
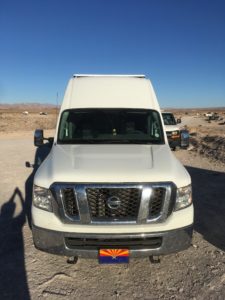
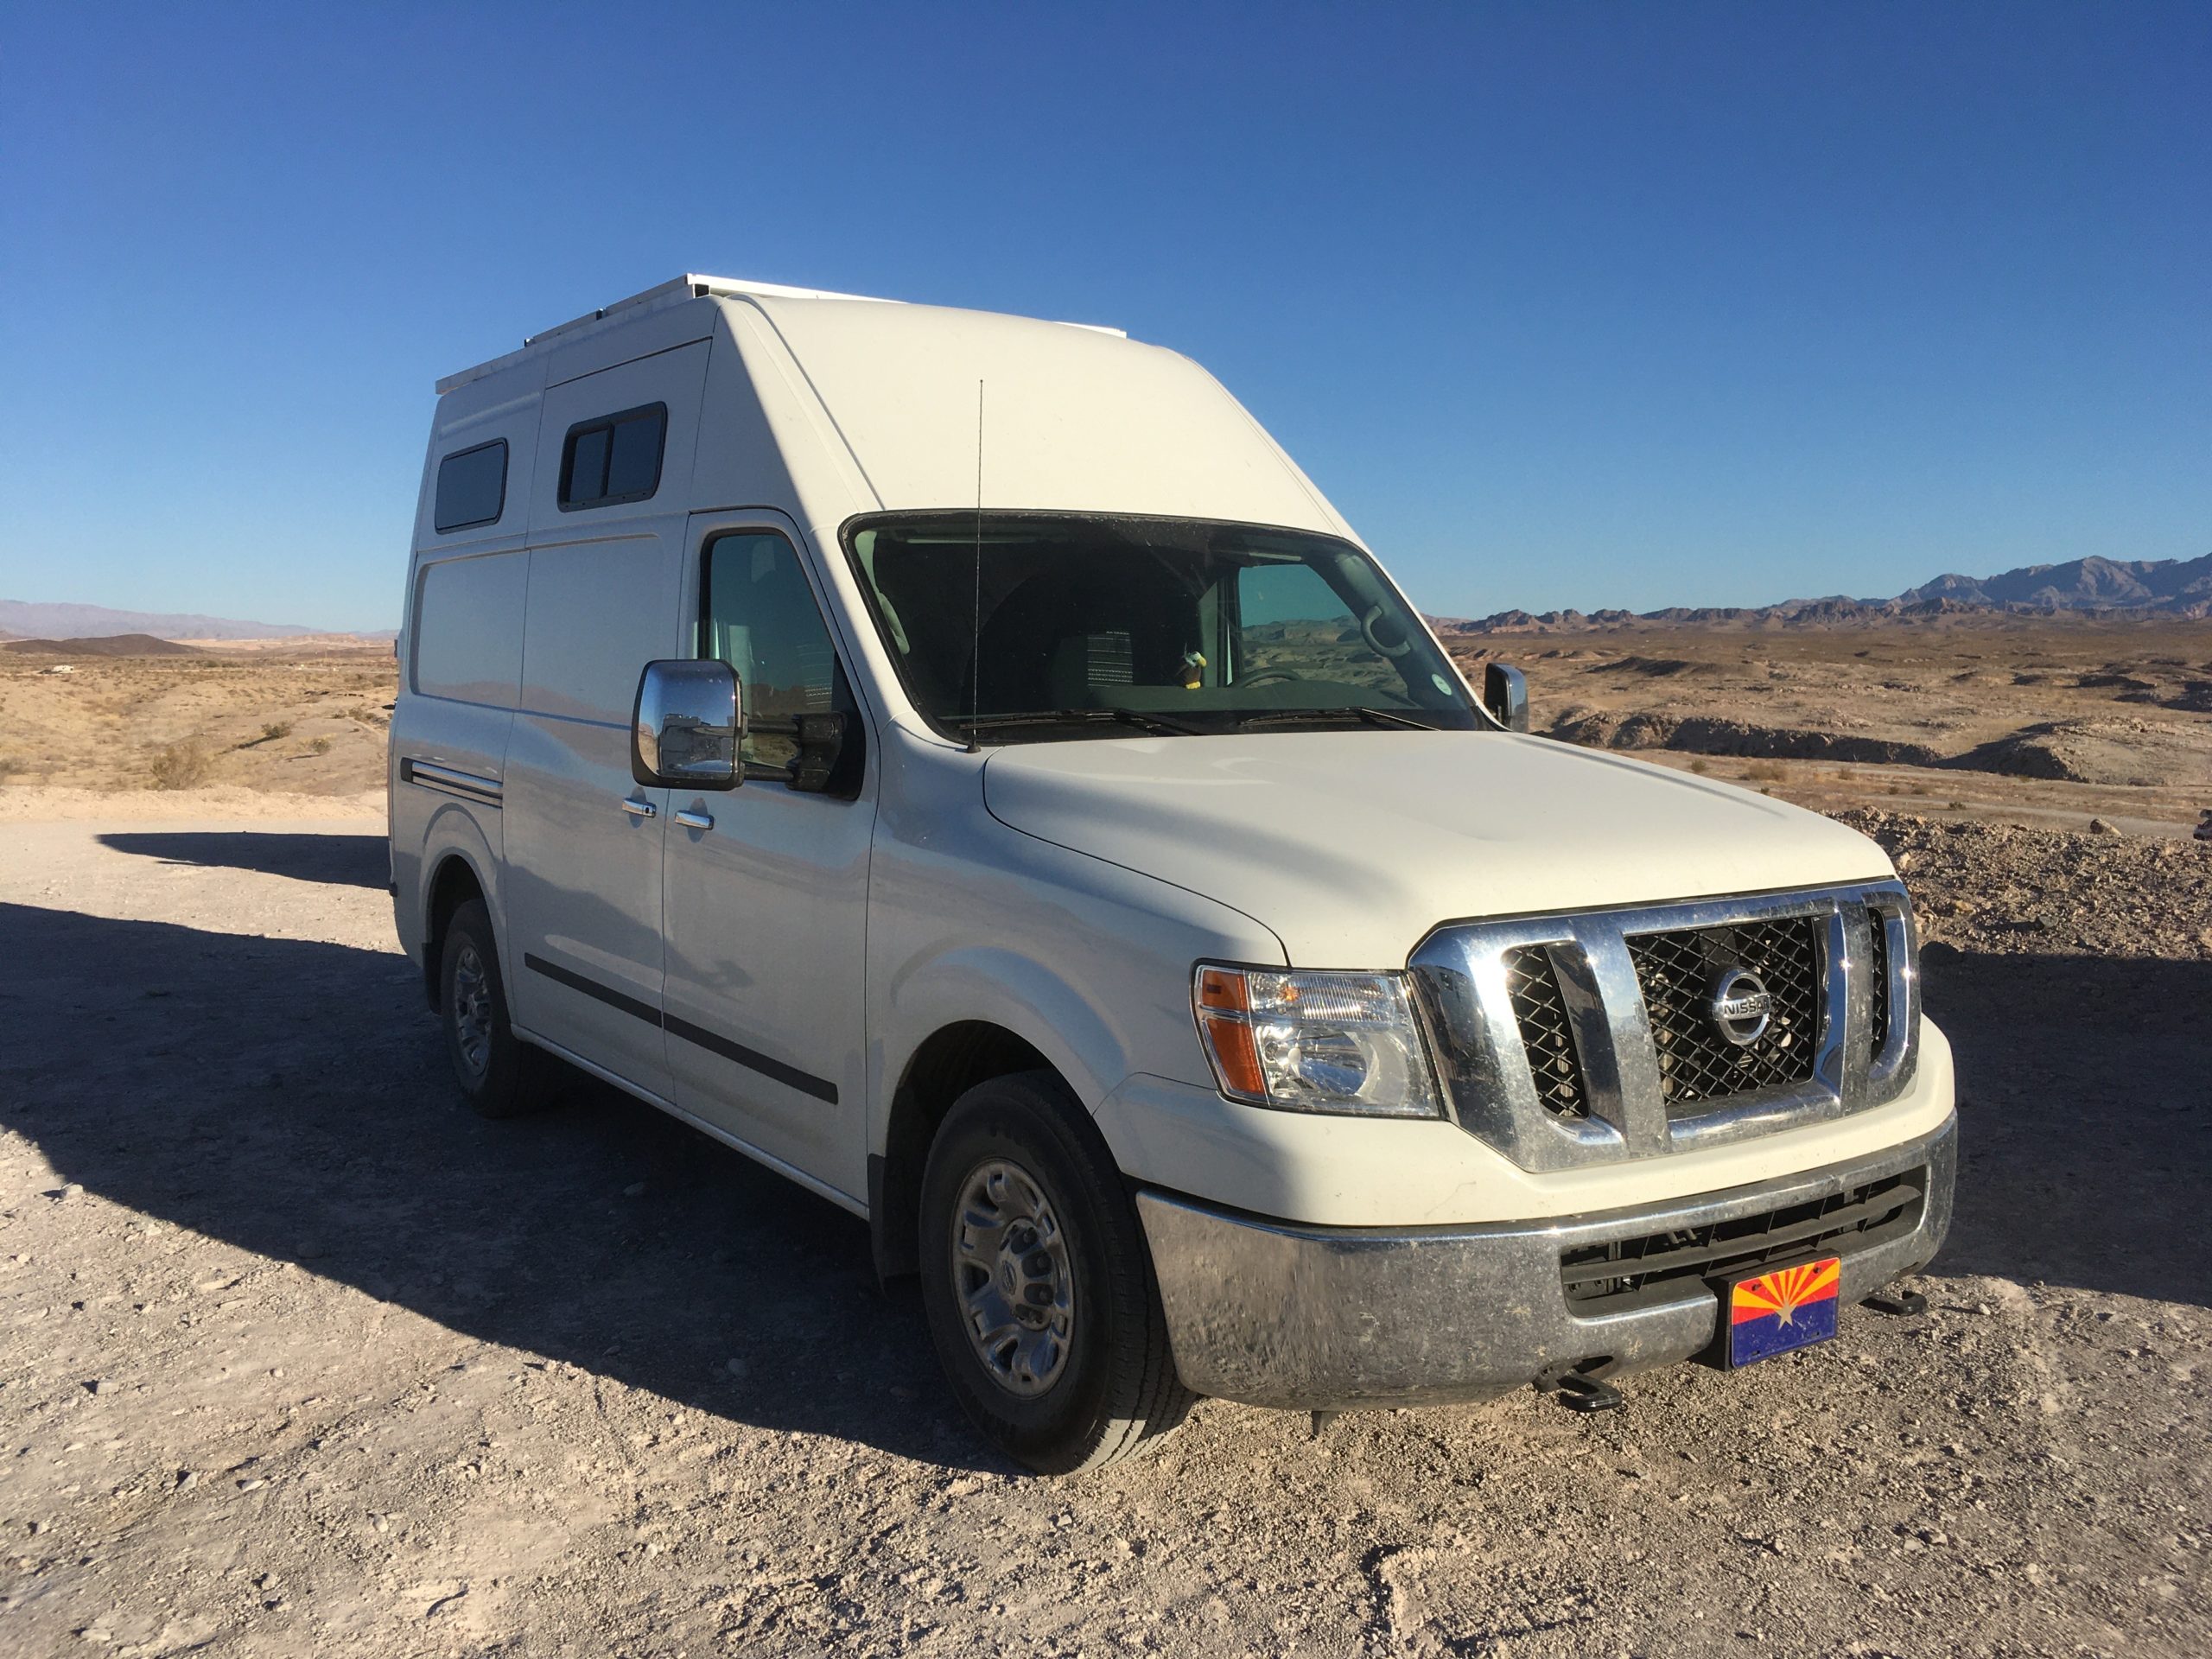
Gus is not a sexy Sprinter, or even a Promaster. No, Gus is the high-top version of the Nissan NV3500. You know, the one with the giant forehead? Yep, that’s the one! Why that model? Jessica needs to be able to tow her airstream with her van, and that’s the only high top van you can buy new right now that can actually do it. I really wanted to put a solar panel on the forehead of that van, but alas, I wasn’t allowed. 🙂
Over the course of about a week, I installed all of the electrical systems (most of which were contained in a nifty box!), and a custom roof rack to hold the solar panels with enough strength to eventually add a deck and have a hang-out spot for people off the back of the van. To get started, let’s look at the box.

Since Jessica hasn’t had time to build out Gus yet, we were mostly looking at bare metal. Generally when I’m building out an electrical system, at least the walls are in place, which gives a nice place to mount stuff to. In this case, I ended up receiving, rather serendipitously, a shipping box that a fellow Xscaper had that ended up being a perfect project box. It was large enough to fit her batteries, Renogy charge controller, bus bars, fuses & shunt all into one compact unit. On the outside of the box, the inverter and 12v distribution block were also mounted, making it an all-in-one kind of solution.
Fabricating the roof rack for the solar took quite a while. The metal had to be procured (only steel was available, not aluminum in the size we needed, more on that later), plan out the nuts & bolts to hold everything together, and get spray paint that would galvanize the metal. The end result was a roof rack that’s easily strong enough to have several people on at the same time and is mounted to the rig so securely that I’m pretty sure we actually increased the rigidity of her whole van as a result of the extra metal we put on the top.

So back to the steel versus aluminum for the roof rack material. We used steel because aluminum wasn’t available in the size we needed it (2″ square tubing with 1/8″ sidewall) and would have to be ordered in. Jessica was on a tight timeline, so we went with what we could get. On future builds, I’m doing aluminum only. Prepping the steel took a very long time with prepping for paint and the actual painting. Once the galvanizing paint (two coats) plus two coats of a heavy-duty white coat were applied, it still flaked off very easily and made for a poor-looking result. We may have to re-create the roof rack at some point in the future if it ends up rusting. For all future roof rack builds: aluminum, stainless steel, galvanized steel, or any other corrosion-resistant material is a requirement.

Jessica opted for solar panels on the front 2/3 of her roof. Behind them is a fan that was previously installed, and behind that will be her mini deck. We maximized the solar panels for the space and were able to fit (2) 190-watt panels giving her 380 watts total. Not the most spectacular, but in concert with the DC-DC charger, and a modest amount of driving, I think it’ll work well.
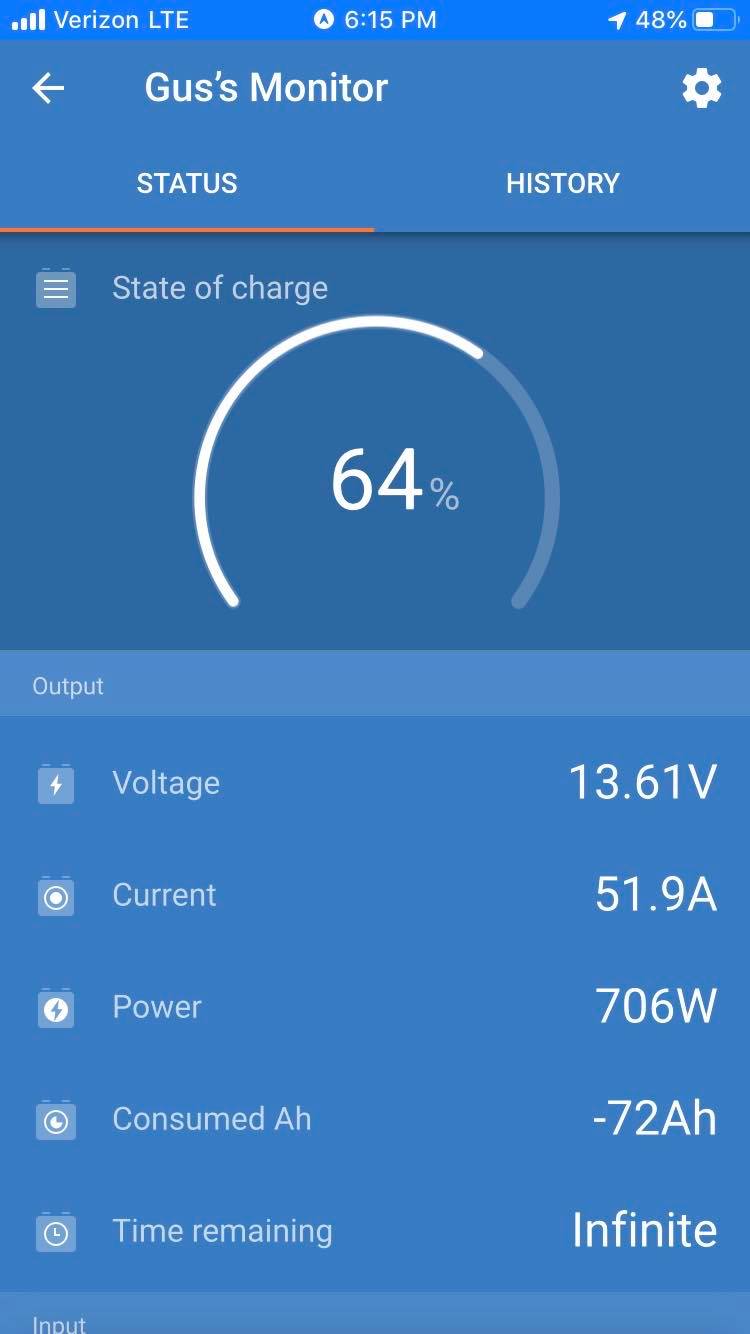
Speaking of DC-DC charging, the Renogy 50-amp DC-DC charger seems to be working out really well. After wiring it up in her van with 4-gauge wire, we’re seeing that it can actually push slightly more than 50 amps (51.9). While I was working on Jessica’s van, I also installed another one of these chargers in a Sprinter and it’s had similar results.
Once the box was roughly placed in the van, I added a circuit breaker and a couple GFCI outlets to get her started. Since the build hasn’t been completed yet and we’re not 100% sure of exactly where the electrical outlets should go, this at least gets her started and she can tap off of these GFCI’s and add additional outlets that will also be protected. I mounted one on each side of the van, each with its own dedicated circuit in the circuit breaker.
I’m really happy with how this build turned out. It had sexy wires, a tight box, and a sturdy rack. LOL! OK, sometimes my muse just seems to speak to me. Seriously though, I think this will service Jessica nicely, and I’m happy to see it launched. I can’t wait to see how she builds out the rest of the van.
Components in this build:
- (2) Battleborn Batteries
- (2) Bus Bars
- Victron 712 BMV
- Renogy 50-amp DC-DC Charger & Solar Charge Controller
- (2) Solar Panels
- Solar Panel Extension wire
- MC4 combiner
- MC4 fuse
- 3,000-watt Pure Since Inverter
- ANL Fuse
- 2/0 Wire, heat shrink, & lugs
- 4-gauge Wire, heat shrink, & lugs
- 70-amp circuit breaker
- 12v Distribution Panel
- AC Panel, circuit breakers, grounding bar, GFCI outlets (all from Lowes)
Prepping the steel roof rack 
390 watts of solar on the roof 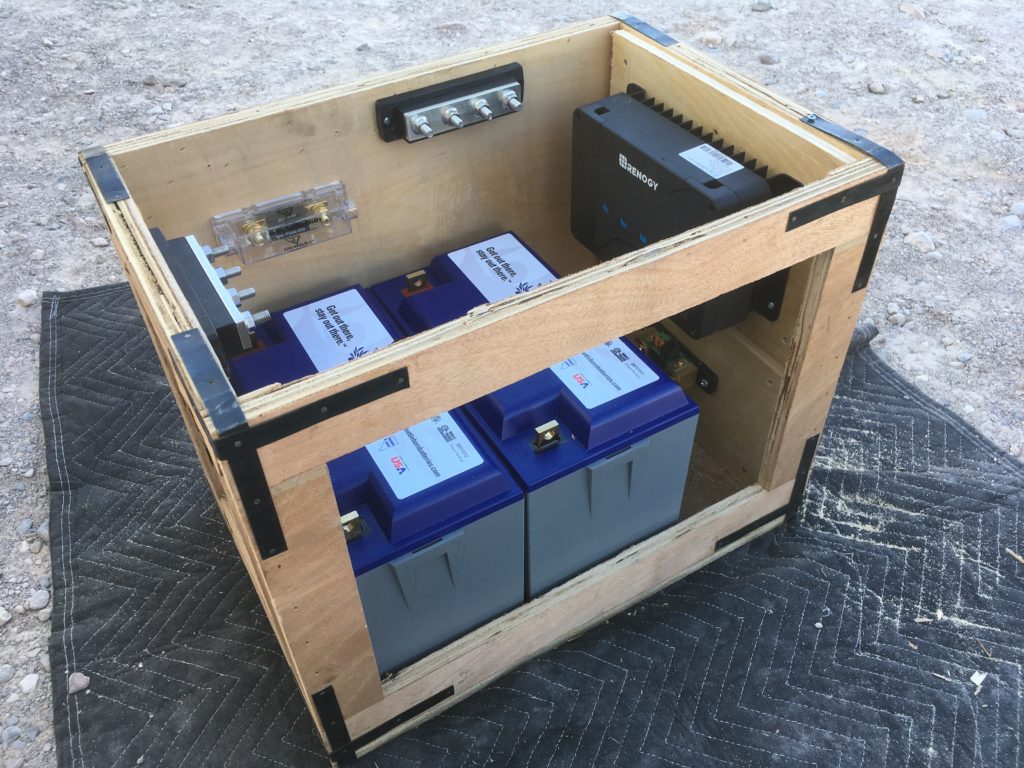
Laying out the components, before wiring 
Top View 
Side View Awesome little box! 

Oh yeah, those some sexy wires! 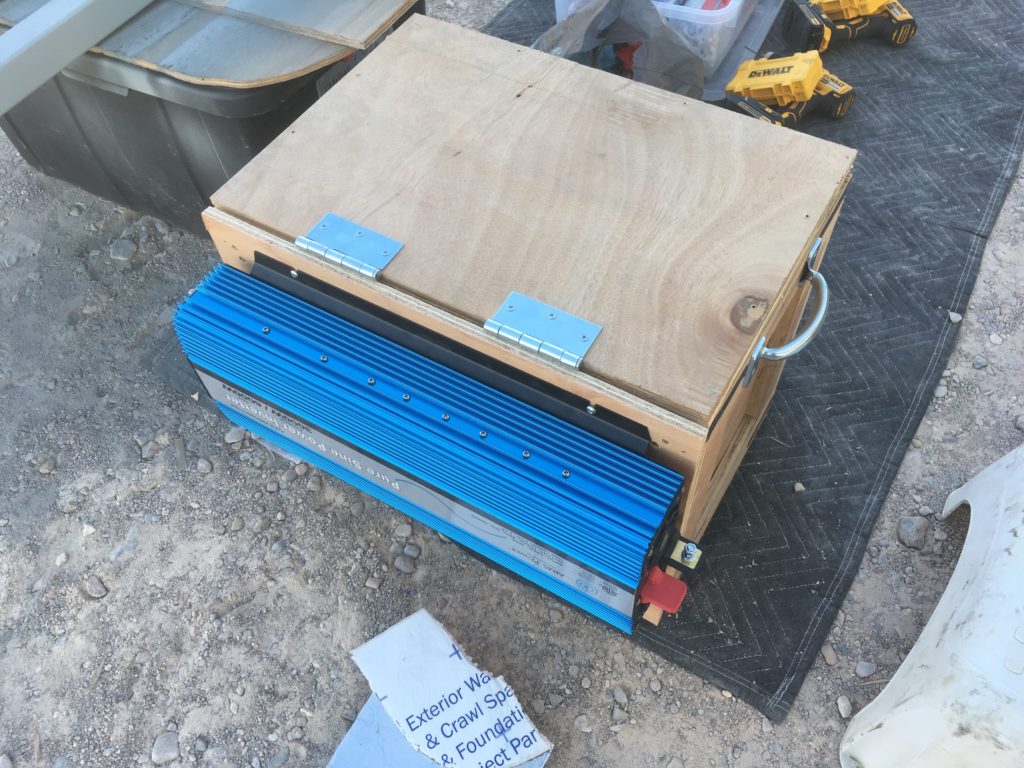
Got the lid on and the inverter on the back 
Wiring for the alternator-based charger with 70-amp circuit breaker 
Simple alternating current circuit breaker set up 
The only hole I had to cut in the van was for the solar gland. Butyl tape, self-tapping corrison-resistant screws, and a generous amount of dicor. It’s solid! 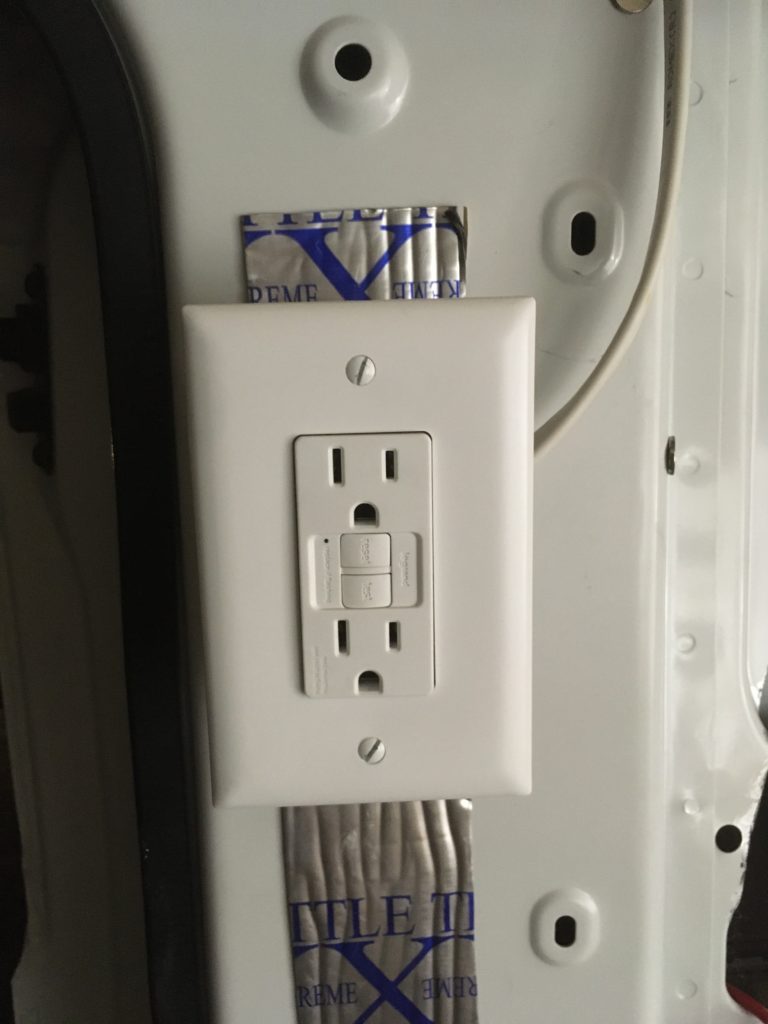
Having actual household outlets is such a nice thing 
The last night getting everything completed 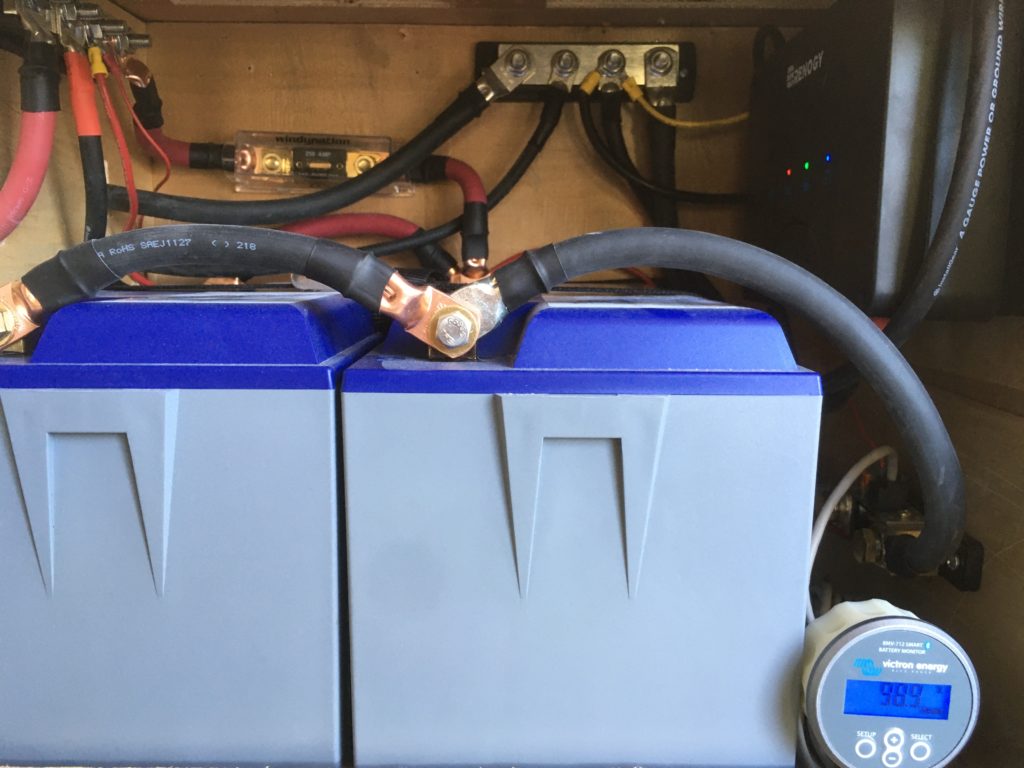
Side view of the box with the completed wiring and Victron monitor (monitor to be relocated later in the build) 
Close-up of the Renogy, setup for lithium, and charging from solar 
All buttoned up and ready to go 
Gus’ profile shot 
I love how busbars can make wiring so much cleaner. Really happy with it!
